How Do I Install MySQL on Mac Using a DMG File | Step-by-Step Guide
Installing MySQL on your Mac can greatly enhance your ability to build applications by providing a robust, high-performance relational database to store and organize data.
In this handy cluster of steps, we will clearly portray on installing MySQL on Mac using a DMG (disk image) file.
Prerequisites to Install Mysql on Mac Using a Dmg File
Before starting with the installation, make sure your Mac meets the following requirements:
- Operating System: macOS 10.12 or later
- Administrative privileges to install software
- Internet access to download the DMG
Step-by-Step Guidelines: Installing Mysql Using DMG
To install MySQL on macOS follow the following steps
Step 1 – Download the MySQL DMG File
To download the DMG file:
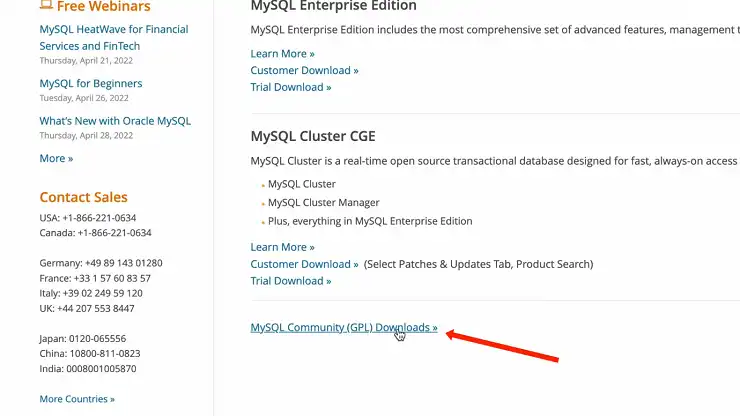
- Go to https://dev.mysql.com/downloads in your web browser.
- Under “MySQL Community Server”, select the package for your macOS version. For macOS 10.13 or later, choose “macOS 10.13-x86_64”.
- Click the “Download” button to download the DMG file.
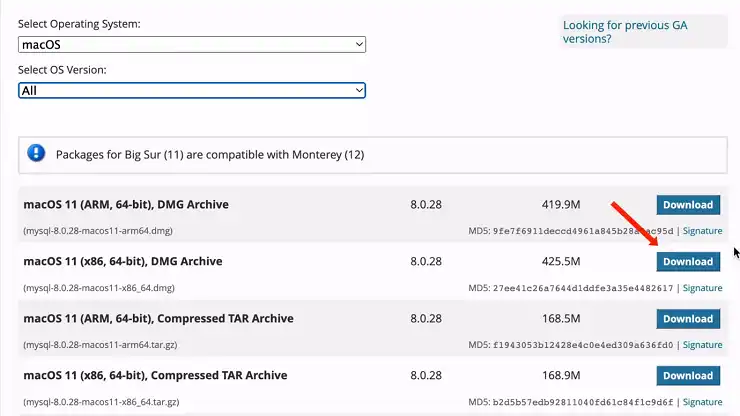
The file is over 400 MB so may take some time to download depending on your internet connection speed.
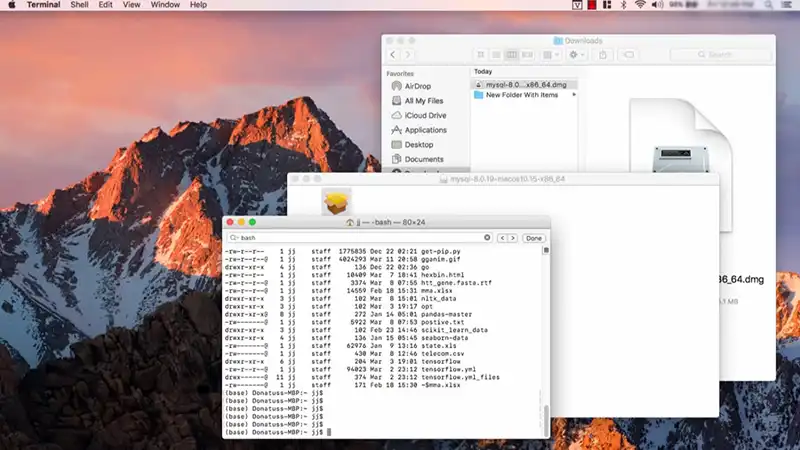
Step 2 – Mount the DMG File
Once the DMG download completes:
- Locate the file in your Downloads folder and double-click on it.
- This will mount the disk image and open a new Finder window containing the MySQL installer package.
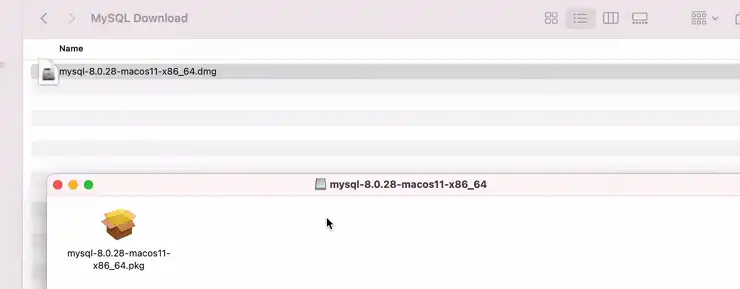
Step 3 – Install MySQL
With the mounted DMG open:
- Drag and drop the MySQL installer package to your Applications folder.
- Go to your Applications folder and double-click on the installer package to launch it.
- Click “Continue” and accept the licence agreement.
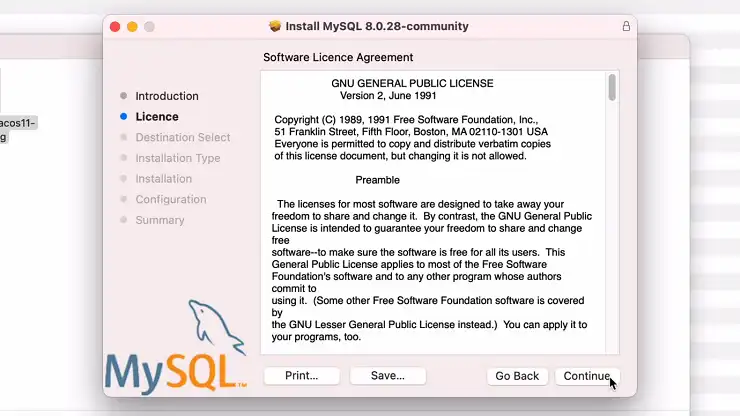
- Choose the “Custom” install type and click “Install”.
- Enter your administrator password when prompted.
This will begin the installation process. Wait for it to complete fully before proceeding.
Step 4 – Configure MySQL
Once installation is completed, the MySQL Preference Pane will open automatically.
- Go to the “General” tab.
- Check the “Launch MySQL at startup” option to auto-start MySQL when your Mac boots up.
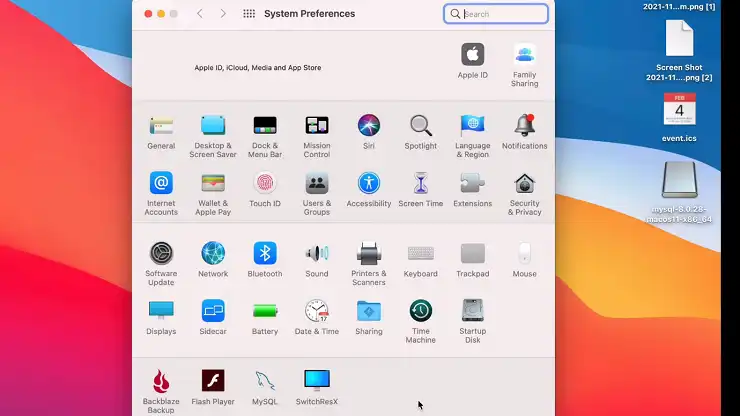
- Click “Apply” to save the changes.
- Close the Preference Pane.
Step 5 – Start the MySQL Server
Before using MySQL, we need to start the MySQL server process:
- Open the Terminal app on your Mac
- Type mysql.server start and press Enter.
This will start the MySQL server in the background.
Step 6 – Verify the Installation
Let’s verify that MySQL installed and started properly:
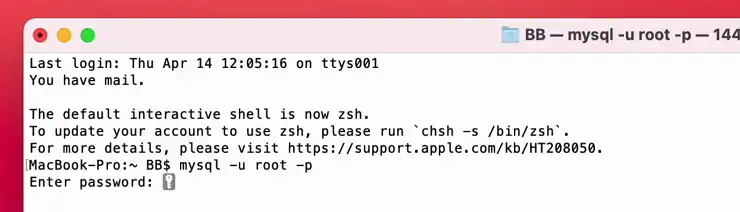
- In Terminal, type mysql -u root -p and press Enter.
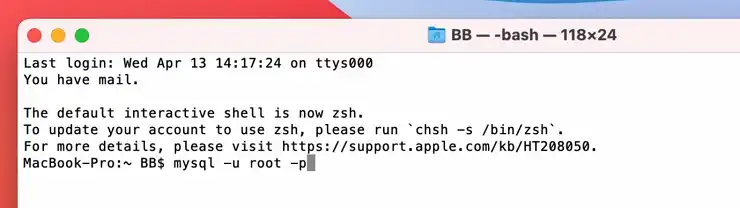
- When prompted, enter the root password you configured during installation.
- If successful, you’ll enter the MySQL command line shell.
- Type status and press Enter – you should see the server status indicating it is running.
- Type exit and press Enter to quit the MySQL shell.
Step 7 – Secure the Installation
It’s good practice to secure your MySQL installation:
- In Terminal, run this command to change the root password (replace ‘newpassword’ with a strong password):
ALTER USER ‘root’@’localhost’ IDENTIFIED BY ‘newpassword’;
- Restart the MySQL server:
mysql.server restart
- Connect again with MySQL -u root -p and enter the new password.
You should now have a running and secure MySQL server ready for use!
FAQs – Frequently Asked Questions and Answers
- What is a DMG file??
Answer: A DMG file is a disk image format used for distributing software on macOS. It allows the software to be installed by simply mounting the disk image and dragging the application to the desired location..
- What’s the difference between installing from a DMG vs. Homebrew??
Answer: The DMG provides a simpler graphical installation while Homebrew uses the command line. Both accomplish the same end result. The DMG does not require any additional third-party tools while Homebrew utilizes the Homebrew package manager.
- Can I install MySQL on older versions of macOS?
Answer: Yes, you can install MySQL on older versions of macOS by downloading the appropriate installer package from the MySQL website. However, keep in mind that the latest MySQL versions may not be compatible with older macOS versions. It is always recommended to use the latest version.
To Conclude
Installing MySQL on macOS using a DMG file provides a quick and easy way to get started with MySQL. In just a few steps, you can download, install, and configure MySQL and have it ready for use in application development.
Properly securing your MySQL server is critical for protecting your data. With MySQL now installed on your system, you’ll have a powerful open-source database to serve as the foundation for building data-driven apps on your Mac.