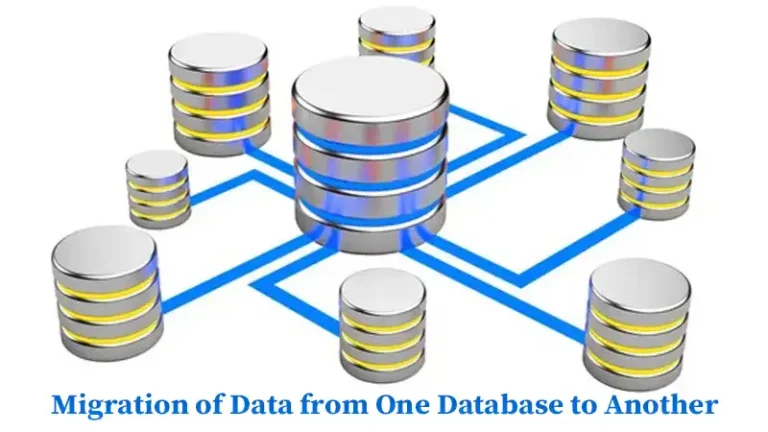
How to Store Data in a Database (Proper Steps Guidance)
Mastering data storage is pivotal, no matter the tool you use. The most popular options when it comes to database server tools are MS SQL, Azure SQL Database, IBM DB2, PostgreSQL, and AWS Cloud. All these offer robust solutions for storing, managing, and retrieving data. Here’s a comprehensive guide on how to store data in a database.
How to Store Data in Database SQL?
You can use Microsoft SQL Server or Azure SQL Database to store your data into your SQL database. Every record in SQL gets stored in a data page of a fixed size within a larger file. These data pages, each of typically 8 kilobytes, can hold several rows of data.
Storing Data in MS SQL Database
Here’s an overview of the systematic 5-step approach to follow while storing data into MS SQL databases.
Step 1: Design the Database Schema
A schema, which refers to the formal declaration of the organization of a DB, is one of the core principles of SQL databases. In this step, you have to define tables, their columns, and the relationship between them. Make sure to use appropriate data types for each of the columns, such as VARCHAR for text, INT for integers, and DATE for dates.
You may consider creating a contract class to explicitly define the layout of your schema with self-documentation. A contract class is a container for constants, like URLs, tables, and columns. It allows using the same constants interchangeably within the classes of a package.
Put global definitions that are applicable throughout the entire DB for a better organization of the contract class. You can then create an inner class corresponding to each table.
Step 2: Create the Database
To create a new database, use the SQL CREATE DATABASE statement. Make sure you provide a meaningful name to the database that goes with the goal of your project.
Step 3: Create the Tables
The default statement for generating tables within a database is CREATE TABLE. Use it to create your tables.
While creating tables, specify the column names, data types, and constraints such as PRIMARY KEY and FOREIGN KEY. Here’s an example.
  CREATE TABLE Employees (
    EmployeeID INT PRIMARY KEY,
    FirstName VARCHAR(50),
    LastName VARCHAR(50),
    BirthDate DATE,
    DepartmentID INT,
    CONSTRAINT FK_Department FOREIGN KEY (DepartmentID) REFERENCES Departments(DepartmentID)
  );
Step 4: Insert Data
Use the INSERT INTO statement to add data into the tables you created. Make sure the data is accurate and follows the previously defined data types.
  INSERT INTO Employees (EmployeeID, FirstName, LastName, BirthDate, DepartmentID)
  VALUES (1, 'John', 'Doe', '1990-05-15', 101);
Step 5: Retrieve Data
If you want to retrieve specific data from the SQL database, you have to utilize the SELECT statement. You can narrow down the results further by applying additional filters and conditions.
SELECT FirstName, LastName FROM Employees WHERE DepartmentID = 101;Step 6: Update and Delete Data
You can modify your stored data based on specified criteria using the UPDATE statements in SQL.
UPDATE Employees SET BirthDate = '1992-08-22' WHERE EmployeeID = 1;Similarly, removing data from the tables is also possible using the DELETE statement in SQL.
DELETE FROM Employees WHERE EmployeeID = 1;Storing Data in a DB2 Database
Another popular database management system is IBM’s DB2 which also allows you to store your data in databases using simple statements.
Step 1: Create a Database
Launch the DB2 Control Center or the Command Line Interface to start creating a new database. Specify the name, storage locations, and other parameters of your database.
Here’s the command to create a new database using the Command Line Interface.
db2 create db <database_name>If you’re using CLPPlus, the command will be as follows.
  db2icrt <instance_name>
  db2start
  db2 "create database <database_name>"
Step 2: Define Tablespaces
Tablespaces are used to allocate storage space for your database objects. So, define the appropriate tablespace size, type, and buffer pool size according to your needs.
Step 3: Design the Tables
The statement used to create tables in DB2 is the same as SQL, which is CREATE TABLE. While defining your tables, make sure to specify the relevant column names, data types, and other constraints.
  CREATE TABLE Employees (
    EmployeeID INT PRIMARY KEY,
    FirstName VARCHAR(50),
    LastName VARCHAR(50),
    BirthDate DATE,
    DepartmentID INT
  );
Step 4: Load Data
Make use of the LOAD command to load data into the new database. Ensure that your data adheres to the table structure before you load it into the database.
LOAD FROM DATA.csv OF DEL INSERT INTO Employees;
Step 5: Access Control and Authorization
Once you have loaded the data into the database, set up user accounts and assign suitable privileges to the accounts. You can use the GRANT command to do so and implement a role-based access control to further enhance the security.
  CREATE USER myuser IDENTIFIED BY mypassword;
  GRANT SELECT, INSERT, UPDATE, DELETE ON Employees TO myuser;
Step 6: Querying Data
For retrieving data from DB2 database, use the SQL SELECT statement while leveraging conditions, joins, and aggregate functions. That way, you can extract relevant information more efficiently.
Identify the columns that you use most frequently in queries and create indexes for them to enhance query performance.
How Can We Store Data in MySQL?
Each database in MySQL gets stored in a subdirectory of the data directory it belongs to. During the creation of a table, MySQL will store its definition inside a file named as the table name with the “.frm” extension. For example, if you create a table and name it Table_1, MySQL will store its definition inside “Table_1.frm”.
Conclusion
A crucial part of storing data in a database is backup and recovery. Make sure to regularly back up the database to prevent any probable data loss. Also, implement a recovery plan to restore your data whenever a system failure occurs.