How Do I Move Files From One Resource Group to Another Using Data Factory
Whether you’re restructuring your resources for better organization or optimizing your cloud environment, the ability to seamlessly transfer files between Resource Groups can significantly contribute to a more cohesive and agile data infrastructure.
In this article, I’ll go into the step-by-step process of moving files across Azure resource groups using Azure Data Factory. From understanding the basics of resource groups to configuring Data Factory pipelines, this guide will help you move your files while keeping your data intact and accessible.
What Does Resource Groups in Azure Mean
A resource group in Azure serves as a container for organizing related resources within a solution. It can encompass all solution resources or selectively include those intended for group management. Resource groups simplify cloud management, providing a tidy way to organize and manage your digital assets.
The allocation of resources to resource groups is flexible and depends on organizational preferences. However, it is advisable to group resources with similar life cycles in a resource group for streamlined deployment, updating, and deletion processes.
The resource group also functions as a storage entity for resource metadata. Therefore, designating a location for the resource group implies specifying the storage location for the associated metadata. Compliance considerations may necessitate ensuring that data is stored in a specific region.
Prerequisites for Moving Files Between Resource Groups
Before we dive into the actual process of moving files from one resource group to another, make sure you have the following:
1. Azure Account: You must have an active Azure account with the necessary permissions to manage resources.
2. Azure Data Factory: Your Data Factory instance should be set up and running.
3. Access to Both Resource Groups: Make sure you have access to the resource group containing the source files and the one where you want to move them.
Step-by-Step Guide: Moving Files Between Resource Groups Using Data Factory
To establish a connection between two Azure storage accounts and facilitate the transfer of files between them using Azure Data Factory, follow these steps:
Step 1: Set up Azure Data Factory
If you haven’t done so already, initiate the creation of an Azure Data Factory instance within your Azure subscription.
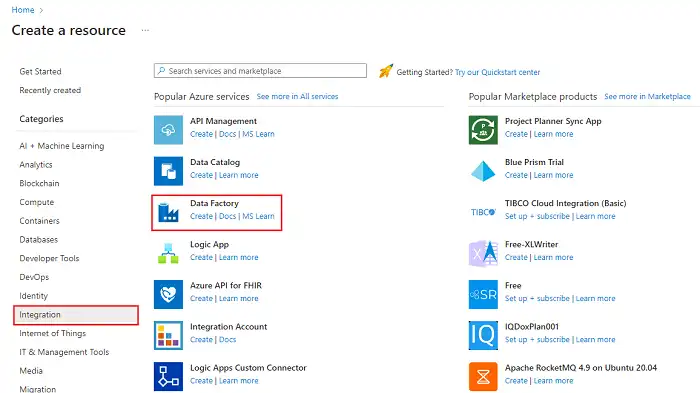
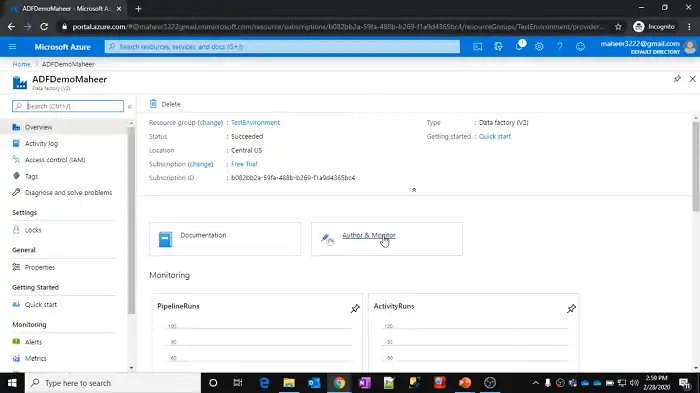
Access the Azure portal, search for “Data Factory,” and proceed to create a new instance by following the provided instructions.
Step 2: Create Linked Services
Linked services serve to define the necessary connection information and credentials for establishing a connection to these storage accounts.
- Navigate to the “Author & Monitor” section of your Data Factory instance in the Azure portal.
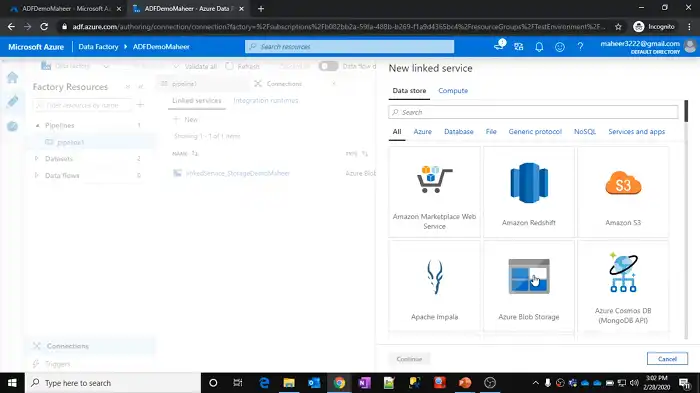
- Select “Connections” and then “New”.
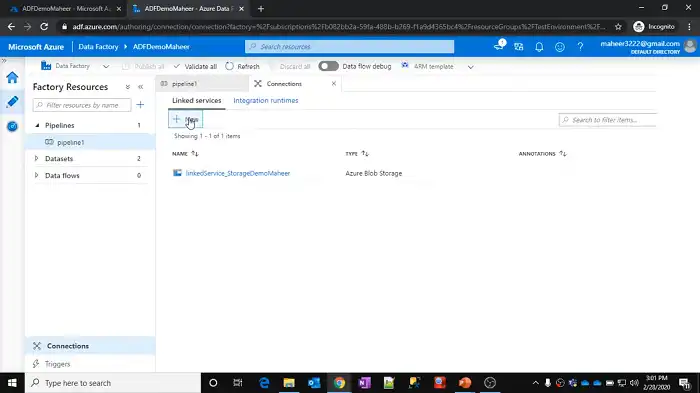
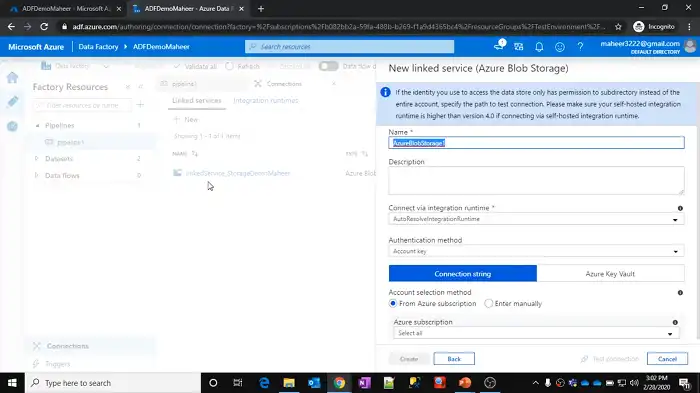
- Choose the appropriate storage account type (e.g., Azure Blob Storage) and input the required details, such as the storage account name and access key.
- Repeat this process for both storage accounts.
Step 3: Create Linked Service for the Destination
If you haven’t already, create a new linked service for the destination resource group. This linked service will allow Data Factory to access and interact with the destination storage.
Step 4: Create Datasets
In Data Factory, datasets act as representations of the data structures involved. Establish two datasets, one for each storage account, to delineate the structure and location of the files.
- Access the “Author & Monitor” section of your Data Factory instance in the Azure portal.

- Click on the three dots menu next to Datasets and select “New dataset.”
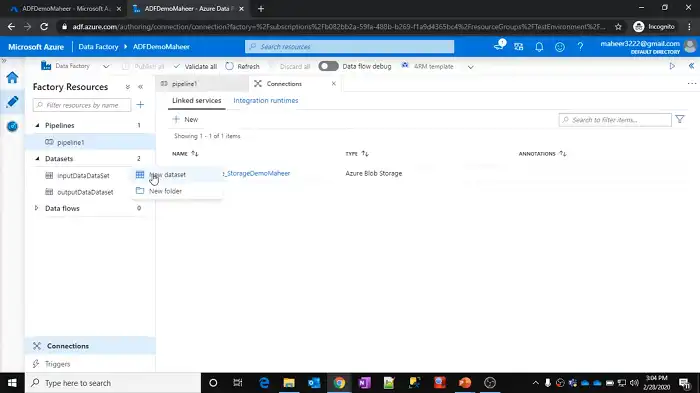
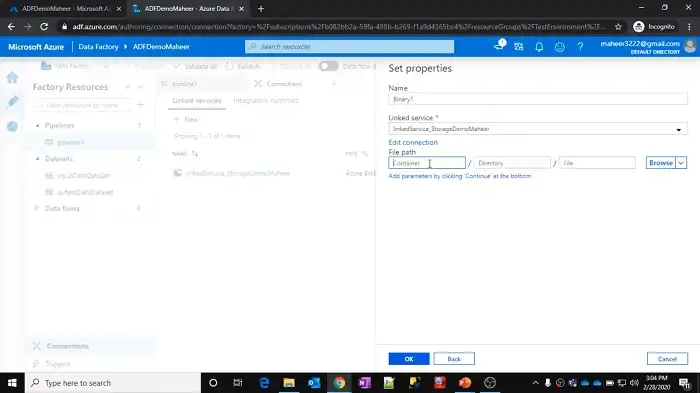
- Choose the relevant dataset type (e.g., Azure Blob Storage) and configure the dataset properties, including the storage account, container, and file format. Here, you’ll have to select the Linked Service that you previously created.
- Repeat this process for both storage accounts.
Step 5: Create a Pipeline
Pipelines in Azure Data Factory define the workflow and activities to be executed. Develop a pipeline to facilitate the movement of files from the source storage account to the destination storage account.
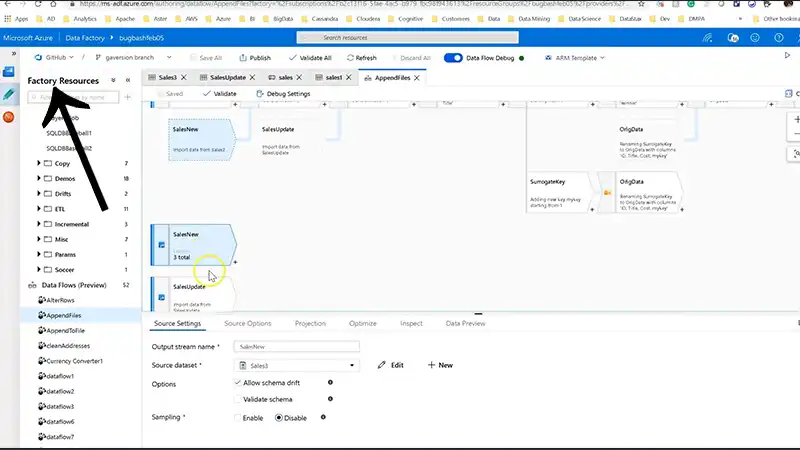
- In the Data Factory Authoring UI, click on “Author” and then “New pipeline.”
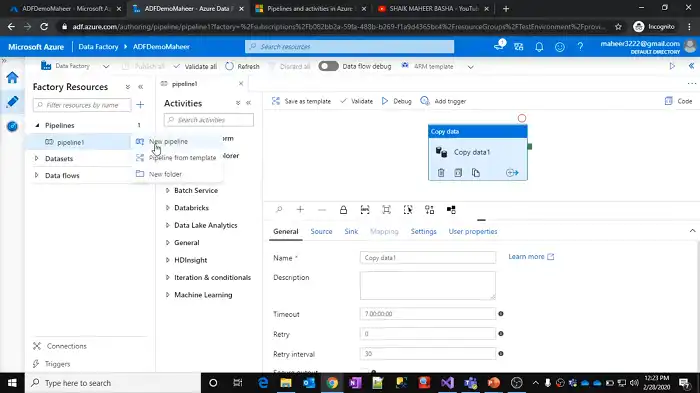
- Assign a name to your pipeline and incorporate activities.
- Integrate a “Copy Data” activity into the pipeline, specifying the previously created source and destination datasets. Here’s a demo JSON code:
{
    "name": "MoveFilesActivity",
    "type": "Copy",
    "inputs": [
        {
            "referenceName": "SourceDataset",
            "type": "DatasetReference"
        }
    ],
    "outputs": [
        {
            "referenceName": "DestinationDataset",
            "type": "DatasetReference"
        }
    ],
    "linkedServiceName": {
        "referenceName": "DestinationLinkedService",
        "type": "LinkedServiceReference"
    },
    "policy": {
        "timeout": "7.00:00:00",
        "retry": 0,
        "retryIntervalInSeconds": 30,
        "secureOutput": false
    },
    "scheduler": {
        "frequency": "Hour",
        "interval": 1
    }
}- Configure the copy activity settings, encompassing file filters, mappings, and performance options. The provided JSON snippet is a template. Replace “SourceDataset,” “DestinationDataset,” and “DestinationLinkedService” with the actual names or references from your Data Factory setup.
- Save and publish your pipeline.
Step 6: Trigger the Pipeline
Following the publication of your pipeline, manually initiate its execution or set up a schedule for it to run at specified intervals using triggers. Triggers can be configured to automate the file movement process between the designated storage accounts.
- Within the Data Factory Authoring UI, proceed to the “Trigger” section.
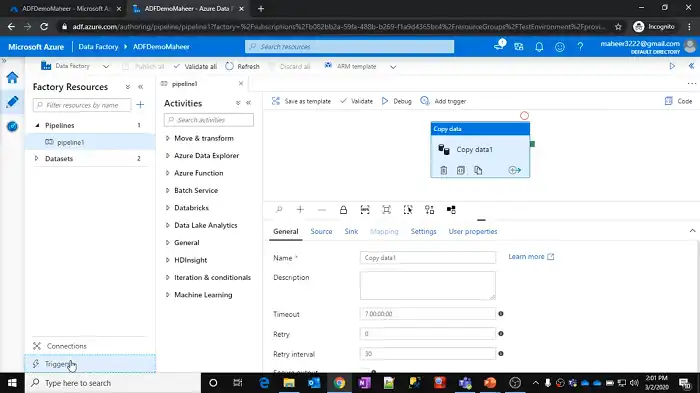
- Establish a new trigger and define its properties, including the start time, recurrence, and execution settings.
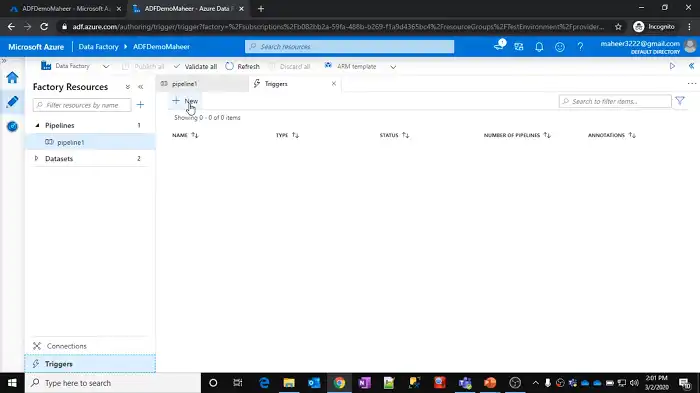
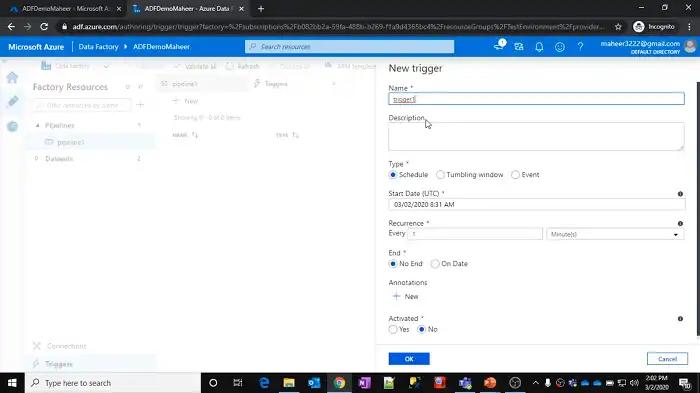
- Associate your pipeline with the created trigger.
Frequently Asked Questions
Can I move files between different storage account types?
Yes, you can. Ensure that the linked services for both source and destination are configured appropriately, considering the specific storage account types.
Will my data be duplicated during the move?
No need to worry about duplicates. The Copy Data activity is designed to maintain data integrity, preventing any accidental duplications.
Can a resource group be in another resource group?
Every resource is confined to a single resource group, and you have the flexibility to include or exclude a resource from a particular group. Additionally, it is possible to transfer a resource from one resource group to an alternative group.
Conclusion
Moving files between Azure Resource Groups in Azure Data Factory might seem intricate at first, but breaking it down into these steps simplifies the process. If you encounter any issues or have questions, feel free to reach out. Your feedback is invaluable, so let us know how this guide worked for you or if there’s anything we can improve upon. Happy data moving!