Easy MySQL Replication With Hotbackups
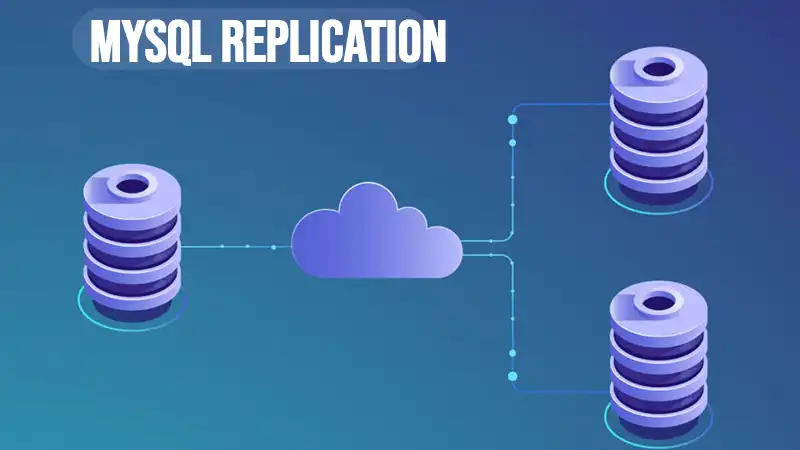
Setting up replication in MySQL is something we need to do quite often. Slaves die, replication fails, or tables and data get out of sync. Whenever we build a slave, we must start with a snapshot of all the data from the master database.
MySQLdump is the tried-and-true method of doing this, however it requires that we lock all the tables in the database. If we’re dumping a large database, this could be a significant period, where no writing can happen to our database for the duration of the backup. For many environments read-only is still an outage.

How to Create a Slave Using Xtrabackup
Enter hotbackups to the rescue. Percona comes with a tool that allows you to perform hotbackups of a running MySQL database, with no blocking. It’s able to do this because of Innodb & multi-version concurrency control (MVCC). Luckily we don’t need to dig into the guts to enjoy the benefits of this great technology.
Here’s a quick step-by-step guide to using xtrabackup to create a slave:
1. Install xtrabackup
If you don’t have any Percona software already on your server, don’t worry. You don’t need to use the Percona distribution to use xtrabackup. But you will need their repository installed. Here’s how:
  $ rpm -Uhv
  From there simply install xtrabackup:
  $ yum install -y xtrabackup
2. Snapshot master datadir
The innobackupex utility comes with xtrabackup, and does the heavy lifting. So, we can just use that to perform the backup.
$ innobackupex /data/backup/
Now we’ll see a new directory created inside /data/backup which looks something like this:
/data/backup/2012-04-08_04-36-15/
3. Apply binary logs
The backup which xtrabackup created above is of the current state of the database. However, there are transactions that are incomplete, and others that have not been flushed to their datafiles.
In other words, the backup as-is would be similar to a datadir if your database crashed. Some additional transactions must still be applied.
To apply those changes, use the following command on the backup directory you created above:
$ innobackupex --apply-log /data/mysql/backup/2012-04-08_04-36-15/4. Copy to slave
$ scp -r /data/mysql/backup/2012-04-08_04-36-15 root@newslave:/data/5. Stop MySQL
$ /etc/init.d/mysql stop6. Swap datadir
$ cd /data$ mv mysql mysql_old$ mv 2012-04-08_04-36-15 mysql7. Adjust my.cnf parameters
At minimum you need to set the server_id to a unique value. The IP address with the periods removed can make a good server_id.
8. Start MySQL
$ /etc/init.d/mysql start9. Point to master & start the slave
One very nice thing about xtrabackup is that it automatically captures the master info, so we’ll easily be able to find out the current log file & log position! That’s a very nice feature.
Find out where the slave should start from:
$ cat /data/mysql/xtrabackup_binlog_infolog_bin.000027 2973624Now tell MySQL where the new master is:
mysql> change master to-> master_user=’rep’,-> master_password=’rep’,
 master_host=’10.20.30.40′,
 master_log_file=’log_bin.000027′,
 master_log_pos= 2973624;
Now start the slave:
mysql> start slave;Lastly verify that it is running properly:
mysql> show slave statusG;You should see the following:
Slave_IO_Running: YesSlave_SQL_Running: Yes10. Test Replication
Once you have replication up and running, you should test it as well. I like to keep a test table installed in the test schema for this purpose. Then you can test as follows:
master> insert into sean_test values (‘xtrabackup is a great way to create a slave with MySQL’);
Then verify that you see that row on your new slave:
slave> select * from sean_test;Once you’ve used xtrabackup a few times, I’m sure you’ll be converted. It makes building a slave much simpler in MySQL. It captures the file & position for you and what’s more there is no dump file to apply – which typically takes a lot of time too! All in all the tool makes you more efficient, and allows you to snapshot slaves anytime you like.
Conclusion
Now that you have replication working, you should add the icing to the cake. MySQL’s statement based replication is powerful, but even when it’s not throwing errors, the databases can get silently out of sync. In a future article, we’ll discuss how to bulletproof your replication setup with a tool that performs checksums on your tables. That will give you professional enterprise-class data protection in MySQL.


